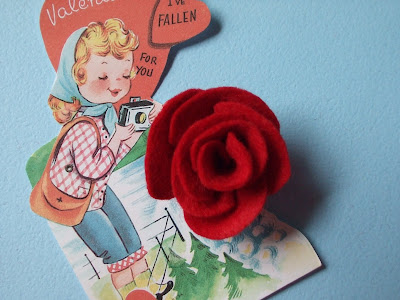
Rakan saya menempah dua cekak rambut untuk anaknya. Jadi saya pun jalan-jalan ke blog lain untuk mencari ilham. Terjumpa satu blog ni. Best sangat tutorialnya. Rasa rugi kalau saya tak ambil tutorial ni sebab sangat mudah, menarik dan cantik. Rasanya macam nak letakkan ros ni pada cekak rambut tu nanti.... Terima kasih kepada owner blog ini :
http://creativebreathing.blogspot.com/
Felt Roses Instructions
I have been asked several times to show how I make the little felt roses often seen on my pincushions. If I confuse you with my directions, I apologize before hand. Just remember these key words: "Sew on the right, accordion fold on the left, secure."
 I make my small and medium sized roses by cutting strips of felt a consistent width. Cut five scallops if you are going to place your rose against something, six if it will stand alone.
 The bud is placed in the center of the next scallop. Key step: Stitch the right side,accordion fold the left side again placing the bud in the center of the next scallop.
 Repeat the process of stitching on the right, accordion fold on the left placing bud in center of next scallop, secure all around bud.
 The top medium rose has five petals great to put next to another flower or button when you don't want a petal hiding the object. The small bottom rose has six petals and is great standing alone. The accordian fold allows the petals to separate from each other.
 Large sized roses are made with individual petals. You can add as many petals as you like to fit the space you are trying to fill.
 Cutting strips of felt a consistent size helps me with anything I make. It lets you skip the step of making a pattern.
 Cut your strip into squares. Note, a thinner strip would equal smaller squares, thus a smaller rose.
 Cut each square in a roundish shape, one edge remains straight. Note the scraps are all similar in size. The squares being the same size allows the petals to be the same size. I use this same technique when cutting leaves. Strip, cut same sized rectangles, cut curve on both sides, same amount of scraps equals same size leaf. Yeah! No pattern needed!
 With each subsequent petal, lay folded side to right of petal, roll towards left, fold back last little bit, secure same 1/2" up from bottom all around bud.
 When rose is as full as you would like, cut close to your securing stitches. The petals can now be separated and the edges crimped back to add shape. The fold taken at the left side of each petal allows the rose to open.
I hope you will find yourself making felt roses to adorn a craft project. I have always loved roses. My favorites are pure "vintage". Cary Grant, a most elegant white. Judy Garland, a riot of oranges and reds. Kathrine Hepburn, a frilly red. Tropicana, my very favorite because it grew in my yard at the house in the hilly neighborhood.


4 comments:
Wah, best ada tutorial!
:)
Wah!.thanks kak share tutorial tu..
Sebab tu nak copy kat blog sendiri ni. Senang nak rujuk bila diperlukan.
Comelnya rose kecik tu!
Post a Comment